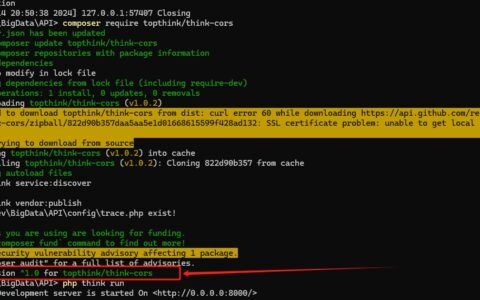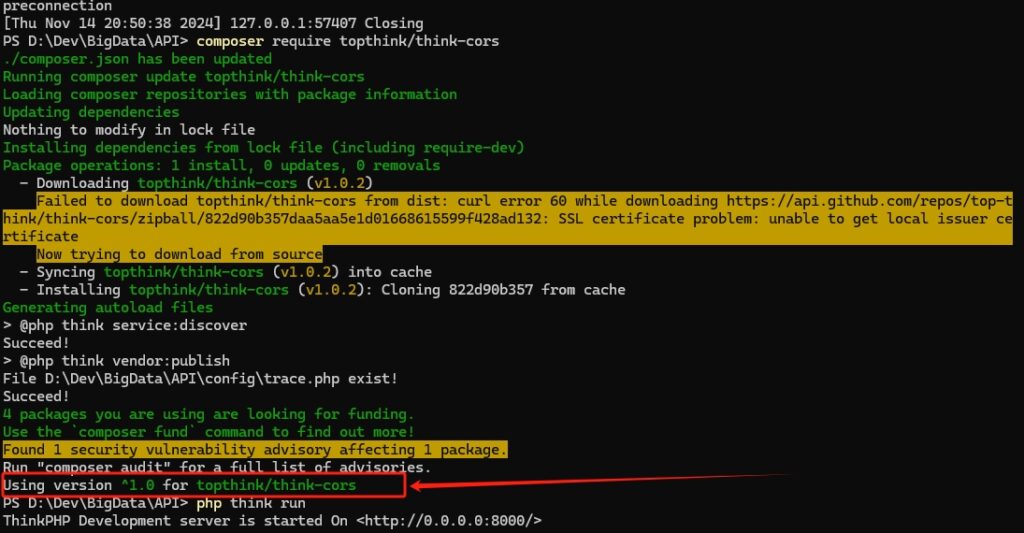
一、安装依赖:需通过Composer安装php-amqplib库
三、生产者
1. 发送一个邮件,将任务发送到RabbitMQ队列中。
2. 运行结果展示
四、启动消费者:命令行执行php think rabbitmq:consumer
1. 在command文件夹下创建consumer.php文件
2. 配置指令
3. 执行结果展示
五、补充:宝塔安装rabbitmq
一、安装依赖:需通过Composer安装php-amqplib库
composer require php-amqplib/php-amqplib二、配置RabbitMQ
在服务器开放RabbitMQ端口5672
return[
'default'=>'rabbitmq',
'connections'=>[
'rabbitmq'=>[
'driver'=>'rabbitmq',
'host'=>'127.0.0.1', // RabbitMQ服务器地址
'port'=>5672, // RabbitMQ端口
'user'=>'guest', // 用户名
'password'=>'guest', // 密码
'vhost'=>'/', // 虚拟主机
'queue'=>'email_queue', // 队列名称
'exchange'=>'email_exchange', // 交换机名称
'routing_key'=>'email_queue', // 路由键
'durable'=> true, // 是否持久化队列和消息
]
]
];
三、生产者
1. 发送一个邮件,将任务发送到RabbitMQ队列中。
app/controller/SendEMail.php
namespace app\controller;
use app\common\SendEmailJob;
use think\facade\Config;
use PhpAmqpLib\Connection\AMQPStreamConnection;
use PhpAmqpLib\Message\AMQPMessage;
class SendEmail
{
public functionsendemail(){
$config= config('queue.connections.rabbitmq');
// dd($config);
$connection= new AMQPStreamConnection(
$config['host'], $config['port'],
$config['user'], $config['password'], $config['vhost']
);
$channel=$connection->channel();
$channel->exchange_declare($config['exchange'], 'direct', false, true, false);
$channel->queue_declare($config['queue'], false, true, false, false);
$channel->queue_bind($config['queue'], $config['exchange'], $config['routing_key']);
$data=[
'to'=>'11user@example.com',
'subject'=>'ThinkPHP8 RabbitMQ测试',
'content'=>'这是一封通过消息队列发送的邮件'
];
$msg= new AMQPMessage(json_encode($data), ['delivery_mode'=>2]);
$channel->basic_publish($msg, $config['exchange'], $config['routing_key']);
$channel->close();
$connection->close();
return'邮件任务已发送到队列';
}
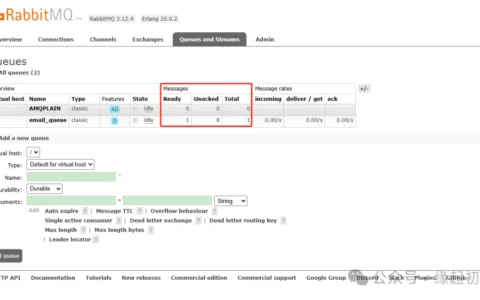
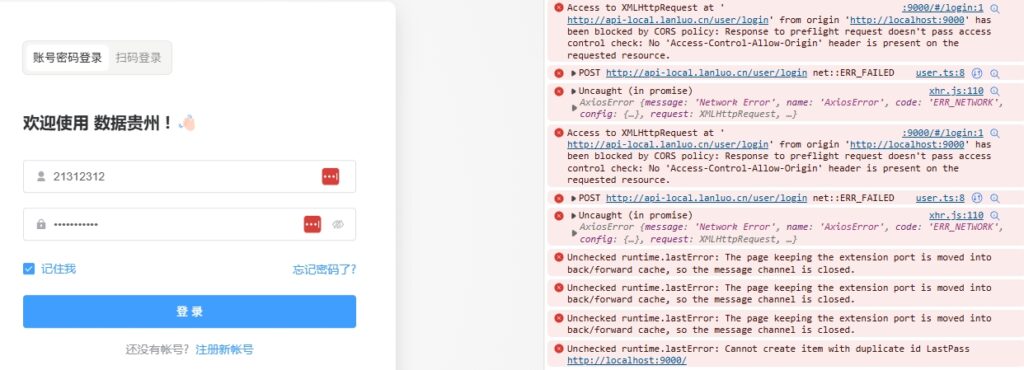
}2. 运行结果展示

四、启动消费者:命令行执行php think rabbitmq:consumer
1. 在command文件夹下创建consumer.php文件
接收任务,从RabbitMQ队列中获取任务执行。
app/command/consumer.php
namespace app\command;
use think\console\Command;
use think\console\Input;
use think\console\Output;
use PhpAmqpLib\Connection\AMQPStreamConnection;

class Consumer extends Command {
    protected functionconfigure(){
$this->setName('rabbitmq:consumer')->setDescription('RabbitMQ消费者');
}

    protected function execute(Input $input, Output $output){
$config= config('queue.connections.rabbitmq');
$connection= new AMQPStreamConnection(
$config['host'], $config['port'],
$config['user'], $config['password'], $config['vhost']
);

$channel=$connection->channel();
$channel->queue_declare($config['queue'], false, true, false, false);

$callback= function($msg) use ($output){
$data= json_decode($msg->body, true);
$output->writeln("收到邮件任务: {$data['to']}");
            // 实际发送邮件逻辑
$msg->ack();
};

$channel->basic_qos(null, 1, null);
$channel->basic_consume($config['queue'], '', false, false, false, false, $callback);

while($channel->is_consuming()){
$channel->wait();
}

$channel->close();
$connection->close();
}
}
2. 配置指令
config/console.php
'commands'=>[
'rabbitmq:consumer'=>'app\command\Consumer',
],
执行命令:
php think rabbitmq:consumer3. 执行结果展示

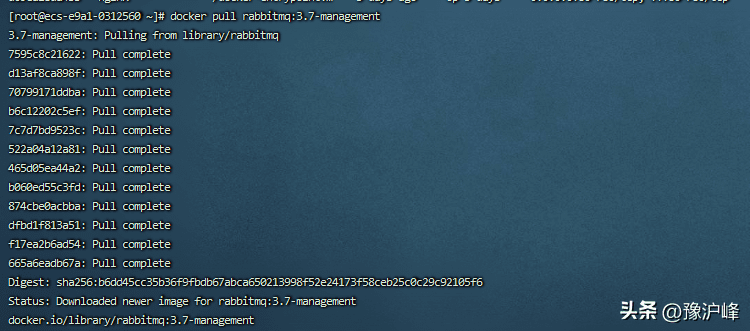
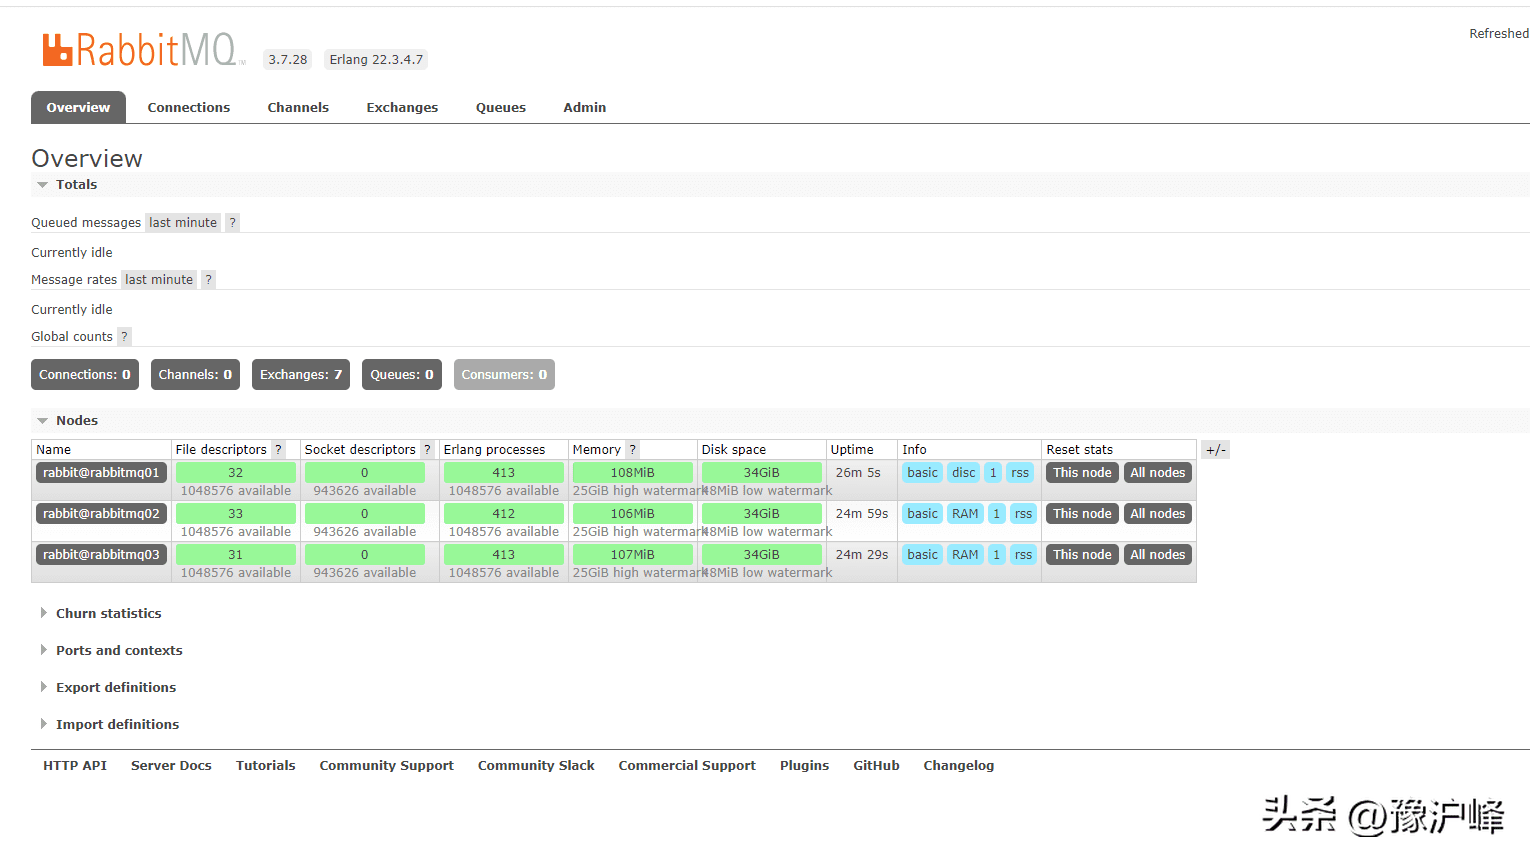
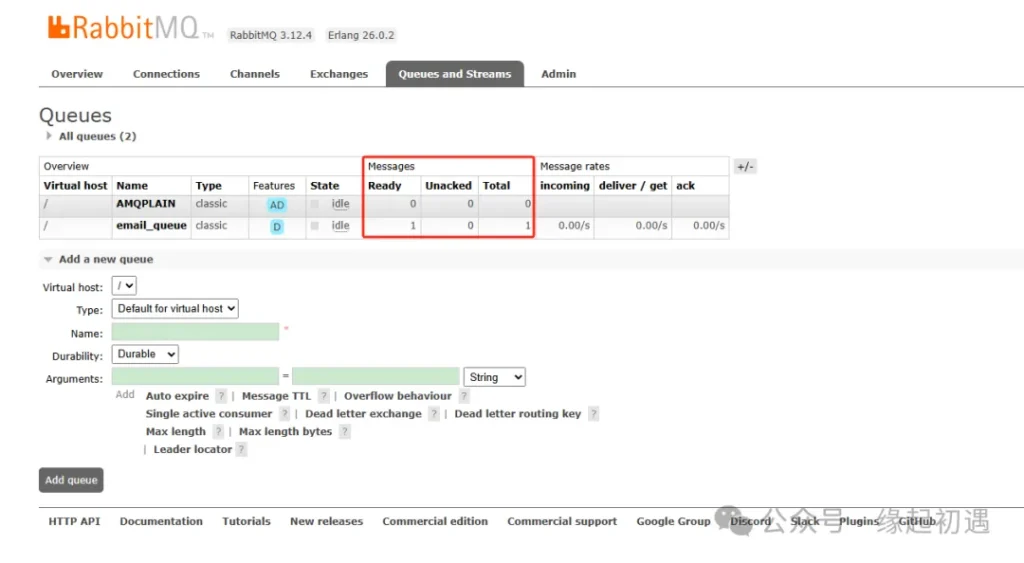
五、补充:宝塔安装rabbitmq
在宝塔软件里面安装rabbitmq 3.12.4

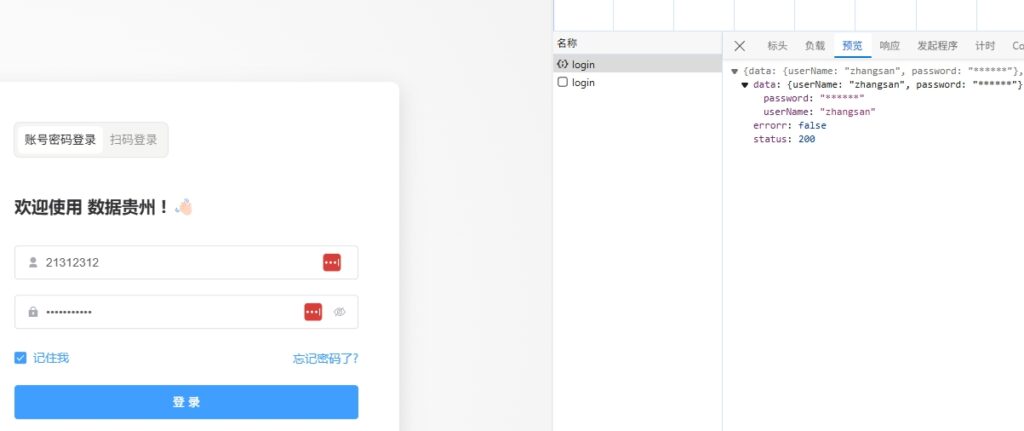
登录可直观展示

转载作品,原作者:程序员阿凡提,文章来源:https://blog.csdn.net/wangshifan116/article/details/153262509